All About Hiking Gear: Everything You Need for NZ Trails
Discover the essential gear for New Zealand's trails — footwear, packs, layers, safety, water and food, and smart packing tips for both day hikes and multi-day tramps. This is the complete rundown of what to carry, how to choose it, and the mistakes that catch out first-timers.
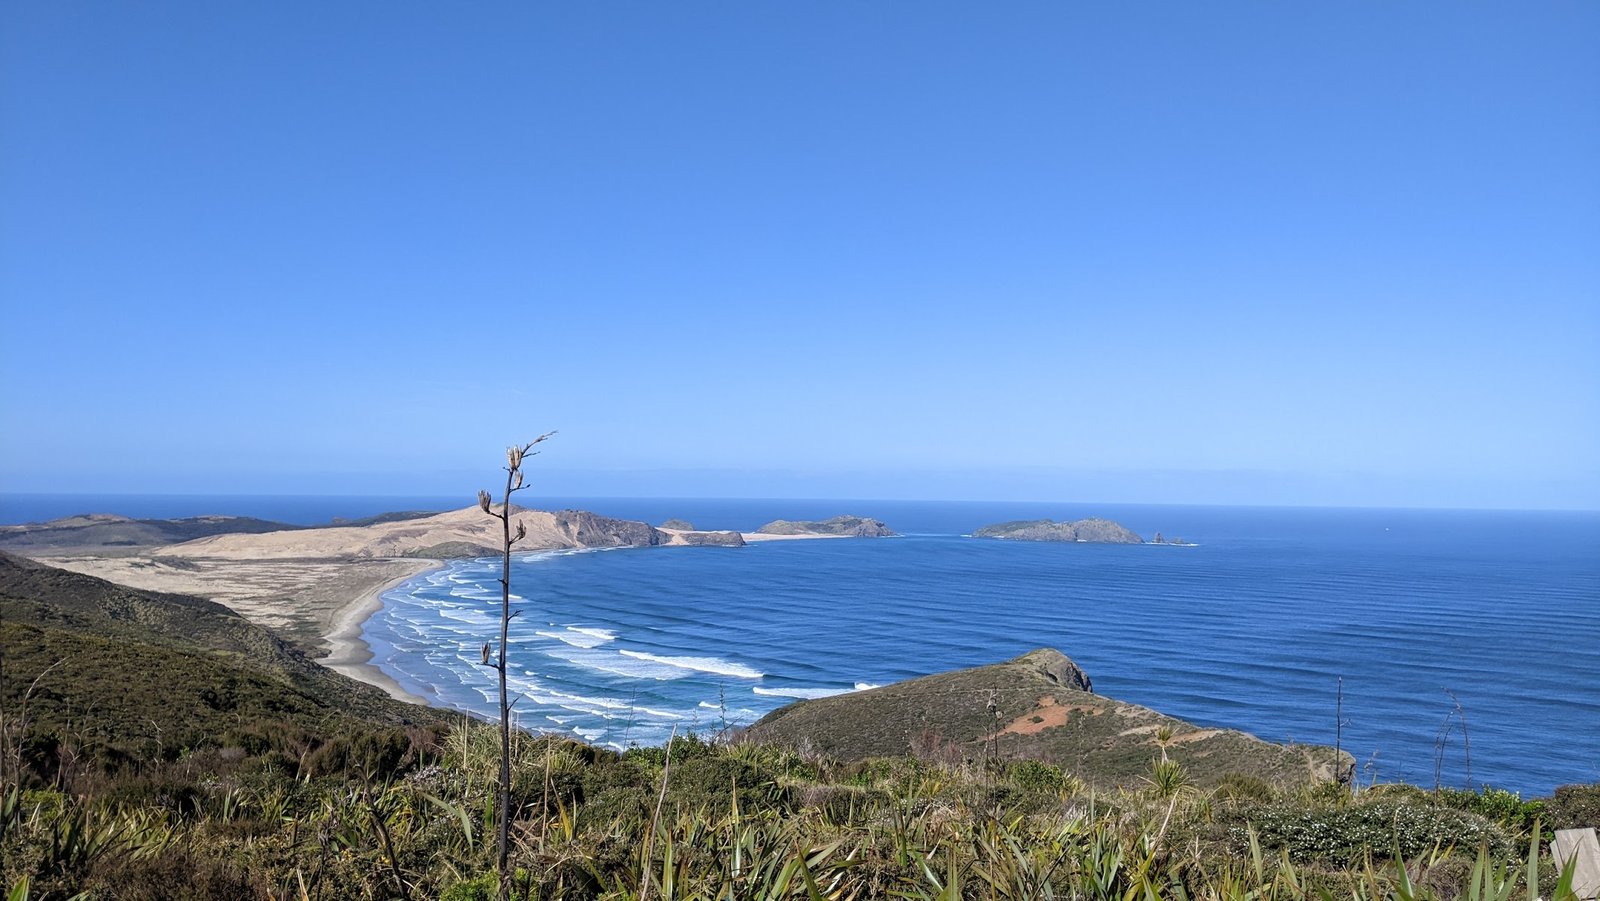
New Zealand packs an enormous range of terrain and weather into a small set of islands. In a single tramp you might cross alpine passes, beech forest, river flats, exposed tops, and long coastal sections — sometimes in one day. The country is also famous for weather that turns fast: a calm, sunny morning can become driving rain and wind by early afternoon, especially in Fiordland and the Southern Alps. Good gear is not about owning the most expensive kit; it is about carrying the right items, knowing how to use them, and trusting them when conditions get serious. This guide walks through every category, from the boots on your feet to the beacon in your pack.
Footwear: Boots or Trail Shoes?
Your footwear is the foundation of your trip. In New Zealand conditions you will face mud, roots, slippery rock, river crossings, and occasionally long beach sections. The right choice depends on the terrain, your load, and how much ankle support you personally need.
- Hiking boots provide ankle support, stability under a heavy pack, and grip on rough terrain. They are the safer choice for multi-day tramps, alpine routes, and anyone carrying serious weight.
- Trail shoes are lighter and faster-drying, better for formed tracks and lighter loads. Many fast-and-light hikers prefer them on Great Walks with good track surfaces, accepting wet feet in exchange for comfort and speed.
- Socks matter as much as the shoe — merino or synthetic blends reduce blisters and keep feet warm even when damp. Carry at least one dry spare pair, and treat hotspots the moment you feel them.
Whichever you choose, break footwear in well before a big trip. New boots straight out of the box are one of the most reliable causes of blisters on day one. For a deeper look at specific models, see our best hiking boots in New Zealand guide.
Backpacks: Finding the Right Fit
A pack that fits well disappears on your back; one that doesn't will turn every climb into a fight. Size to the trip, then fit it to your torso length and hip width rather than the brand's small/medium/large label.
- Day packs (20–30L) carry water, food, layers, and safety gear for shorter outings.
- Multi-day packs (50–70L) should transfer most of the weight to your hips with a supportive frame and a well-padded hip belt. The shoulders steady the load; the hips carry it.
- Waterproofing is vital: use a liner or dry bags inside the pack — raincovers alone often fail in NZ winds and sideways rain.
Load the pack with heavy items close to your back and centred between your shoulder blades for the most stable carry. Our guide on how to pack a backpack for multi-day walks covers this in detail.
Clothing Layers for NZ Weather
Weather can shift rapidly — sunshine to mist and rain within an hour. The layering system lets you adjust as you go, adding or shedding layers to stay comfortable without sweating through your clothes or getting chilled at rest stops.
- Base layer: merino wool or synthetic to wick sweat away from the skin. Never cotton — it holds moisture and chills you.
- Mid layer: fleece or a lightweight puffer for warmth that you can pack down small when not needed.
- Outer shell: a waterproof, seam-sealed jacket with a strong hood is the single most important weather-protection item you carry.
- Always pack a warm hat, gloves, and sun protection — even in summer, the tops can be cold and the UV is intense.
Shelter, Sleep, and Safety
Many Great Walks have huts, but you should always be prepared for the unexpected — a missed booking, an injury that slows you down, or weather that forces you to stop early.
- Sleeping bag: rated for the conditions — roughly 0–5°C comfort for alpine trips, 5–10°C for lowland summer.
- Sleeping mat: foam or inflatable, essential for warmth as much as comfort — it insulates you from the cold ground or hut bunk.
- Emergency bivvy or foil blanket weighs almost nothing and can keep you alive if you are caught out overnight.
- Personal Locator Beacon (PLB): essential when going remote. You can hire one cheaply if you don't own one — there is no excuse to go without on serious terrain.
Food, Water, and Cooking
Fuel and hydration keep you moving safely. Underestimating either is a fast route to a miserable, and sometimes dangerous, day.
- Water: carry 2–3 litres per day on exposed tracks, and treat stream water with a filter or purification tablets where sources are questionable.
- Meals: lightweight, calorie-dense foods — wraps, trail mix, couscous, or dehydrated meals. Pack snacks you will actually want to eat when tired.
- Cooking: a small gas stove and pot covers most trips. Note you can't fly with fuel canisters, so buy them locally on arrival.
Navigation and Other Essentials
The small items round out a safe kit. None of them weigh much, and each earns its place.
- Trekking poles for stability on long descents and river crossings.
- Headlamp with spare batteries — never rely on a phone torch alone.
- First aid kit, with particular attention to blister care.
- Navigation: a map and compass, or a GPS app with offline maps downloaded before you lose signal.
Matching Gear to Season and Terrain
The same track can demand very different kit depending on when you walk it. Summer lowland tramps may need little more than a shell and sun protection, while a shoulder-season alpine crossing calls for a warmer bag, insulated layers, and a serious margin for weather. Before any trip, check the forecast, the DOC track conditions, and recent hut reports — then pack for the conditions you might meet, not just the ones you hope for. Exposed alpine sections, river crossings, and snow all raise the stakes and the gear requirements.
Day Hike vs Multi-Day: What Changes
For a day hike, the essentials shrink to a light pack, water, food, a rain shell, warm layer, headlamp, and basic first aid — but the safety items still matter, because day walkers get caught out as often as anyone. For a multi-day tramp, you add sleeping and cooking systems, more food, a larger pack, and redundancy in your safety gear. The principle stays the same at both ends: carry what keeps you safe and comfortable, and leave the rest at home.
Looking After Your Gear
Gear that is cared for lasts longer and performs when you need it. Reproof waterproof shells with a DWR treatment once water stops beading on the fabric. Dry sleeping bags fully before storing them loose rather than compressed. Rinse mud and grit off boots and zips after each trip, and check straps, buckles, and seams for wear before the next one. A little maintenance is far cheaper than replacing kit that failed because it was neglected.
Common Mistakes to Avoid
Many new trampers underestimate NZ conditions. Common errors include packing cotton clothing (which stays wet and cold), carrying too little water on exposed tracks, and skipping safety gear like a headlamp and PLB for "just a day walk." Overpacking heavy, bulky gear instead of choosing lighter modern options is another frequent mistake. Always test your pack weight before setting out — if you can't walk comfortably around the block with it, it will be a struggle on the trail.
Quick Checklist
- Footwear + spare socks
- Layered clothing (base, fleece, waterproof)
- Pack with liner or dry bags
- Food + 2–3 litres water
- Sleeping bag + mat
- Navigation tools + PLB
- First aid kit + headlamp
Ready to hit the trails? Share your own gear list or questions in the Wakahi Forum — the community would love to hear what works best for you.
This post contains affiliate links. As an Amazon Associate, Wakahi earns from qualifying purchases at no extra cost to you.